Many users of both Google (or Nest) Home in combination with a Nest Hello know they can be notified across the house on their assistant devices when a visitor arrives. This is a very convenient feature and is much more useful than a traditional doorbell. However, what to do with that old doorbell on your wall after a renovation that makes it look completely out of place and out of time? Soon it dawned upon me that there was nothing we can buy that my wife and I would be happy with. She then said, "Can we just have a Google Home Mini on the wall? We have so many". The answer to this question might be complicated, but it gave me an idea that I could work on!
We started with an old outdated doorbell (I threw it out a long time ago) that used to be beige with wood trim, and ended up with a Google Home Mini in its place. Now I'm able to issue Google Assistant commands to get weather and even start the car while getting ready to leave the house (more on that one in another future post). Following are details of how it was done.
Choosing a Device
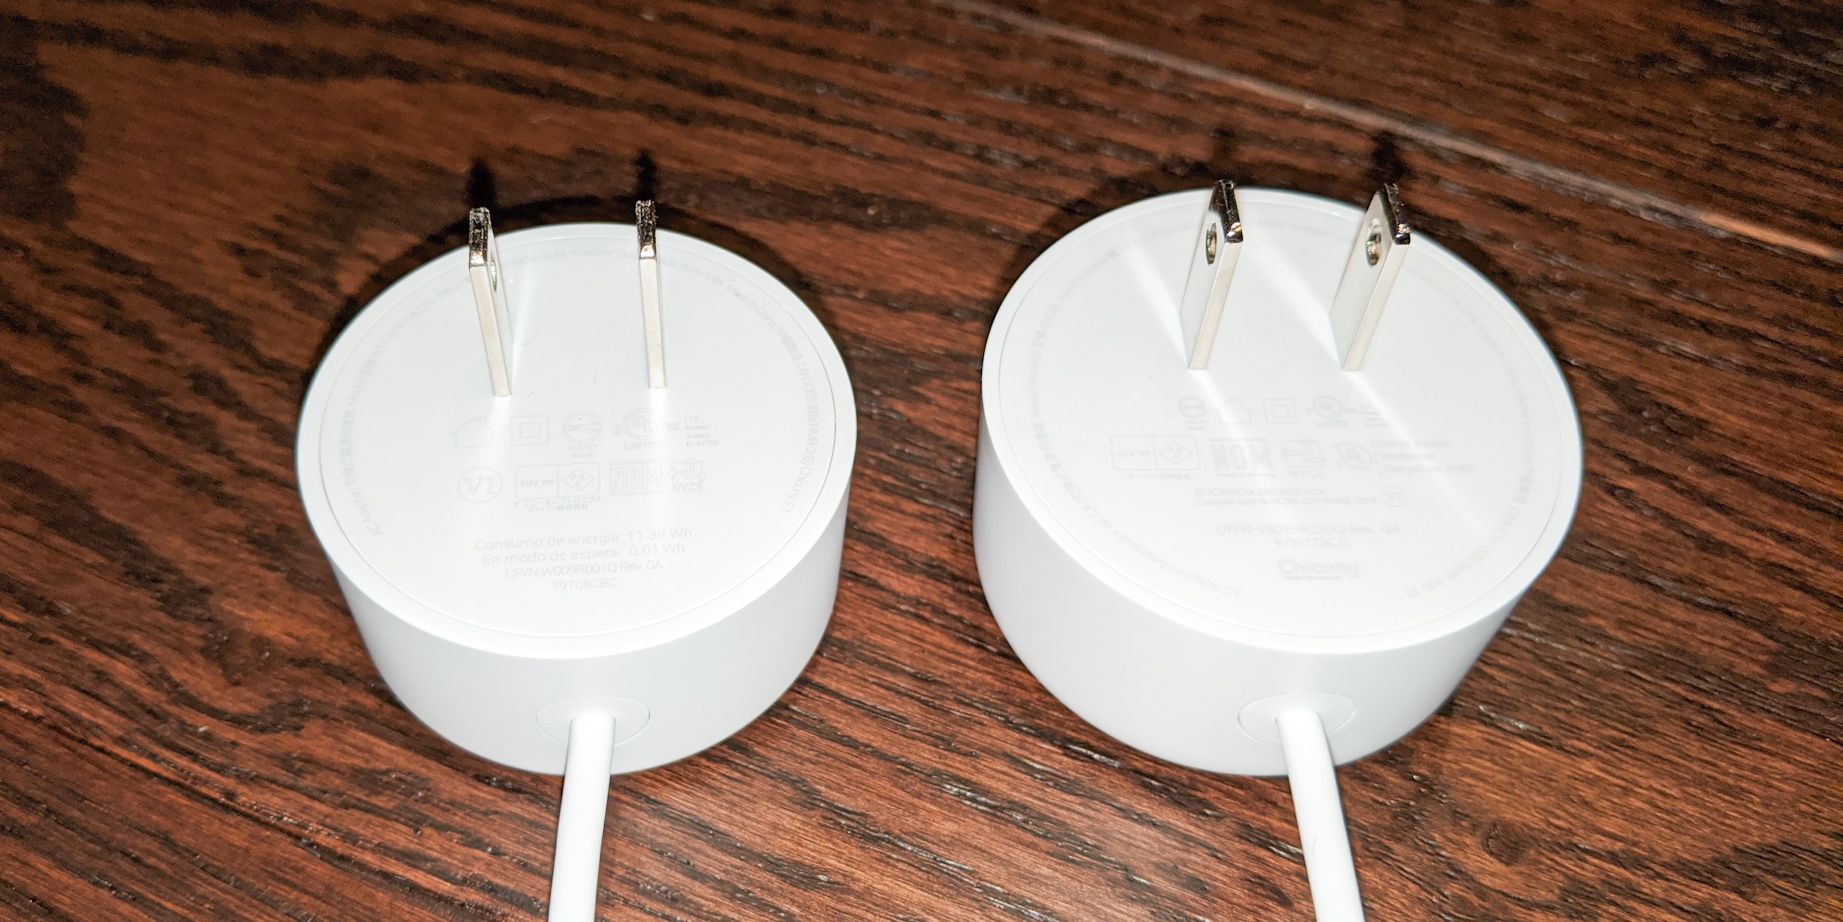
Google recently updated and renamed the miniature sized assistant. Thanks to a Google Music promotion for family plan, we ended up with a number of new Nest Minis free of charge. They've been able to achieve more bass and volume from what I can tell with a boost to power input via 14 Volt 1.1 Amp power input instead of 5 Volt 1.8 Amp USB. This is an increase of 71% in available power for the speaker.
Since I'm not looking for quality sound as a doorbell replacement, I've chosen the older Google Home Mini. This also reduces any power requirements to an easily manageable level.

Power Delivery
The primary concern was how to power the device. It would have been fairly easy to install the device into a wall outlet using readily available options found online for under $30. However, having a one year old in the house meant that everything within reach is a toy. So we needed a plan B.
Our original doorbell was powered by a 24VAC 10A transformer in the basement and is currently powering the Nest Hello. This meant the requirement was to convert 24 Volt AC power into 5 Volt DC in order to power the Home Mini. Slight complication is that there is a power output drop down to 16VAC with load. Enter Aliexpress: https://www.aliexpress.com/i/32245336880.html. For under $6, minus $3 coupon for first order, I found a small converter that would solve my problem.

Next step was to ensure good aesthetics. A standard USB input connector would protrude too far. Again, Aliexpress provided a large selection of USB connectors allowing me to create a connector. In fact, it's so cheap that a pack of 10 costed just over $1. All I had to do was solder and wrap it up.

Let's run a quick test:

Wiring
Now that it works, it's time to install. I start by making sure there is enough room inside the wall for wiring, power converter, and Nest Hello power adapter. This is done by installing a device box, which also provides some added protection in case of a wiring fault (not that it's required by code for low voltage).

Then we add a simple cover from Lowe's for a couple bucks. I had to drill a 5/8" hole to accommodate the custom USB connector.

Mounting the Home Mini
I started with using double sided tape that was known to rip the wall paint right off, until I realized that the rubber backing made it almost non-stick. After removing the rubber backing, I realized that the speaker driver extended all the way to the back, meaning that I may be able to use a magnet to mount.
It's nice to have some rare earth magnets from old hard drives lying around to do this. The cover I used for the device box is thin steel which allowed easy attachment of the magnet.

I'm not 100% sure about the impact to the speaker's ability to produce sound but I don't hear any difference in the audio that it produces and it's extremely easy to service. Most importantly, it doesn't look like a rectangular box from the 80s.

